

How to Plant a Potted Climbing Rose: Step-by-Step
By following these simple steps, you will ensure your potted climbing rose gets off to the very best start, helping it settle beautifully into the ground and establish the strong, healthy framework needed for years of abundant growth and flowers.
Potted climbing roses can be planted at almost any time of year, provided the ground is not frozen, waterlogged or in drought conditions. Avoid planting during periods of extreme heat. Watering well during the first few weeks after planting will help the roots establish quickly.
- Garden fork
- Garden spade
- Large bucket of water
- Watering can
- Soil improver, compost or well-rotted manure
- Gardening gloves
Support structure and soft ties for training
Climbing roses thrive in sunlight, so choose a position that receives at least four hours of direct sun each day. In hotter areas, a little afternoon shade can help protect young plants. Allow enough space so roots are not crowded by nearby trees, hedges or plants. Position your rose close enough to its support, such as a wall, fence, arch or trellis, so stems can be trained easily as they grow.
Planting Your Rose
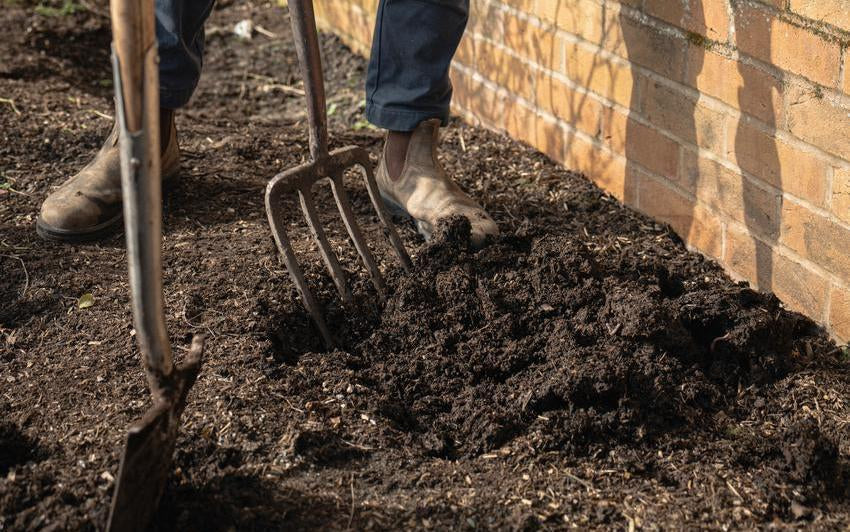 Step 1Prepare the area. Dig the soil thoroughly with a garden fork, removing weeds and large stones. This creates a loose, welcoming space where new roots can spread easily and establish well.
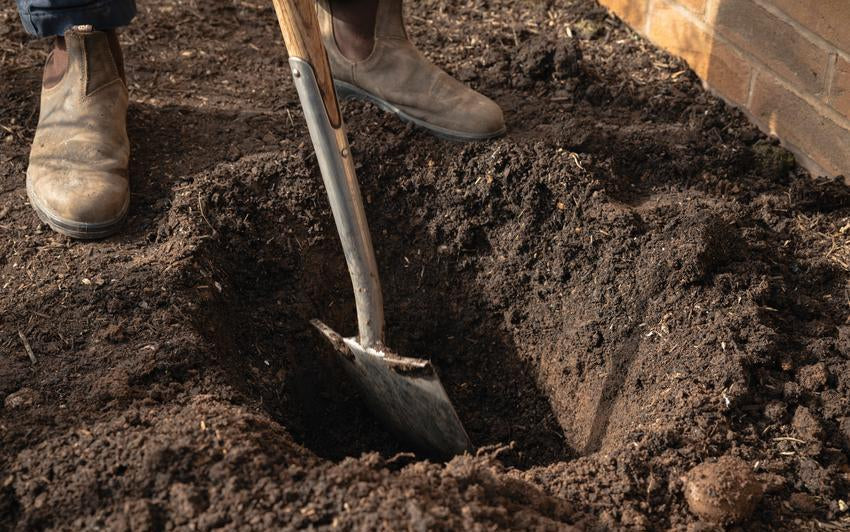 Step 2Dig a generous hole. Prepare a generous hole approximately 45 x 45 cm (18 x 18"), or large enough to comfortably hold the rose’s root mass. Mix one spadeful of organic soil improver or well-rotted manure into the base of the hole, and two more into the soil you have removed.
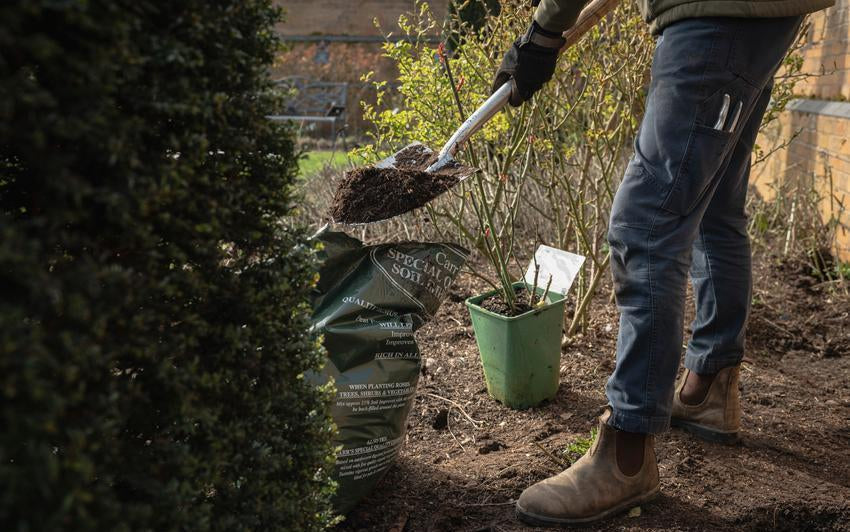 Step 3Loosen and enrich the soil. Loosen the soil at the bottom of the hole with a fork, giving roots an easy path downwards so the rose can settle quickly and find moisture.
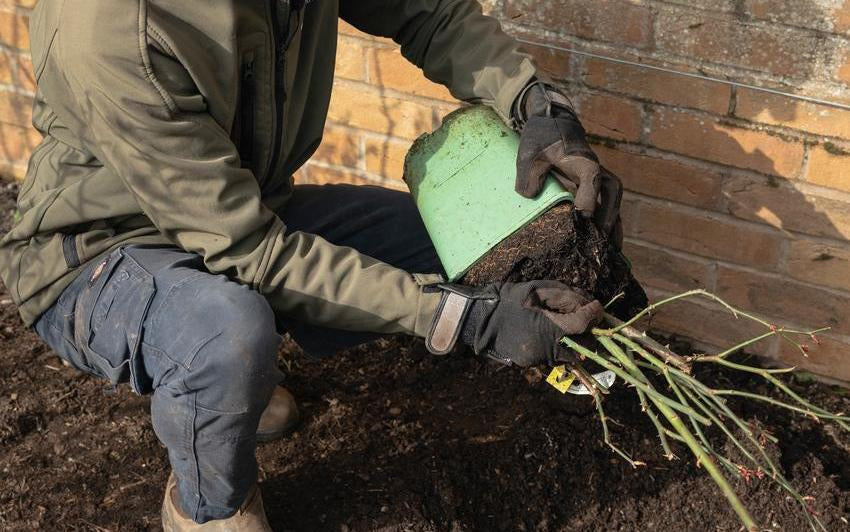 Step 4
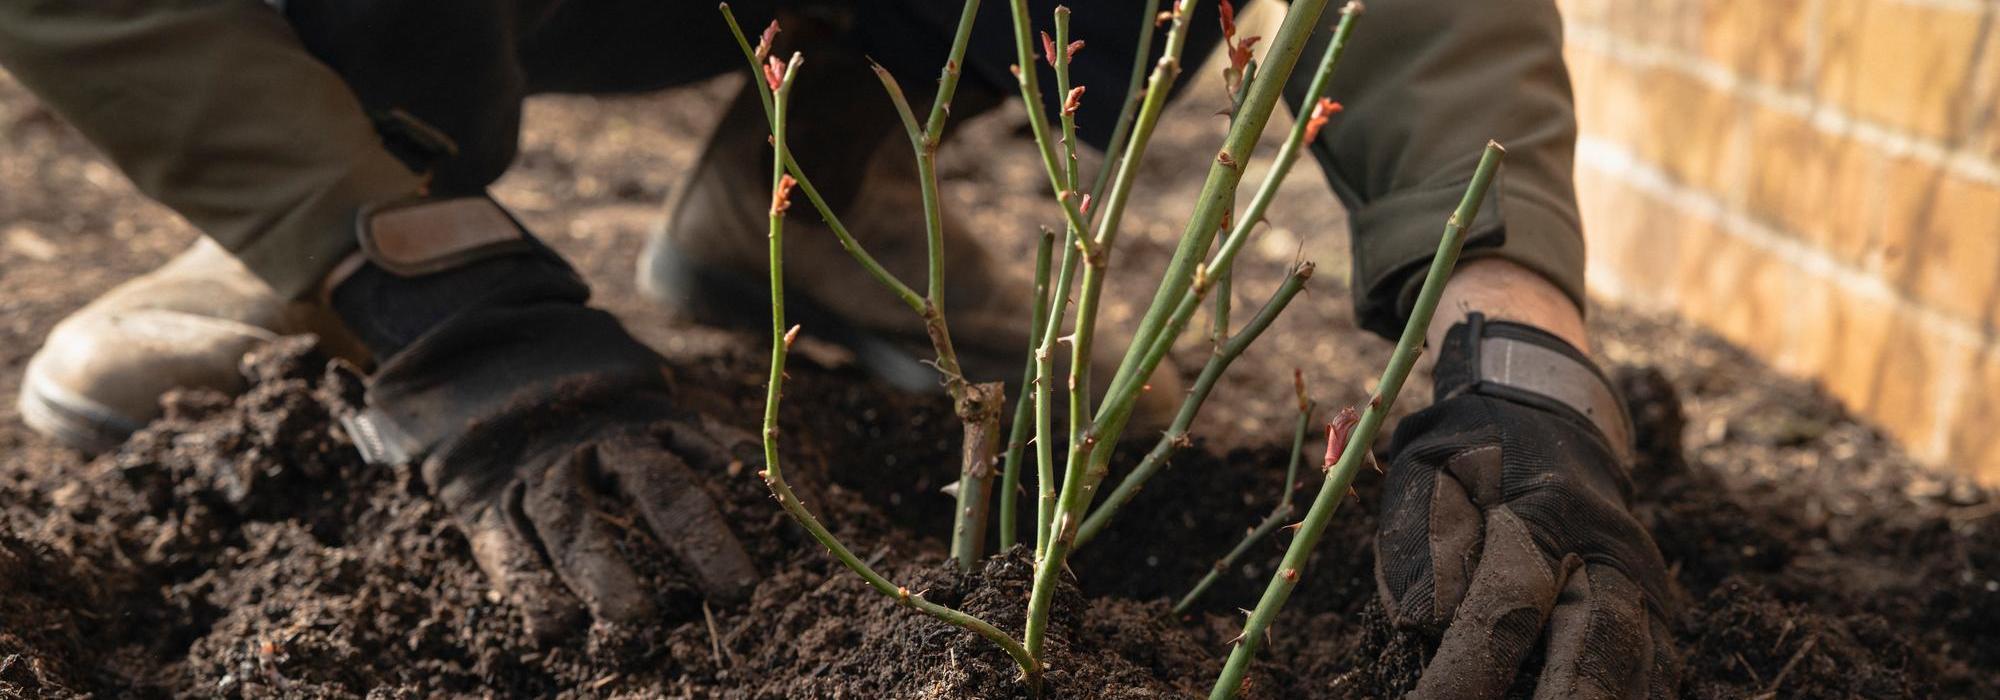
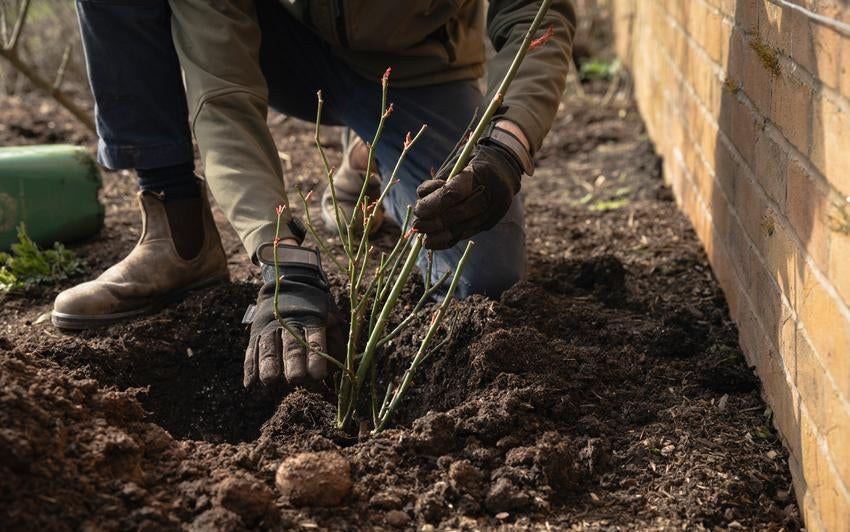 Step 5Position the rose correctly. Place the rose in the centre of the hole with the base of the stems sitting just below soil level, around 5 cm (2"). If planting against a wall or fence, angle the stems slightly toward the support. Backfill gently and press lightly to remove air pockets.
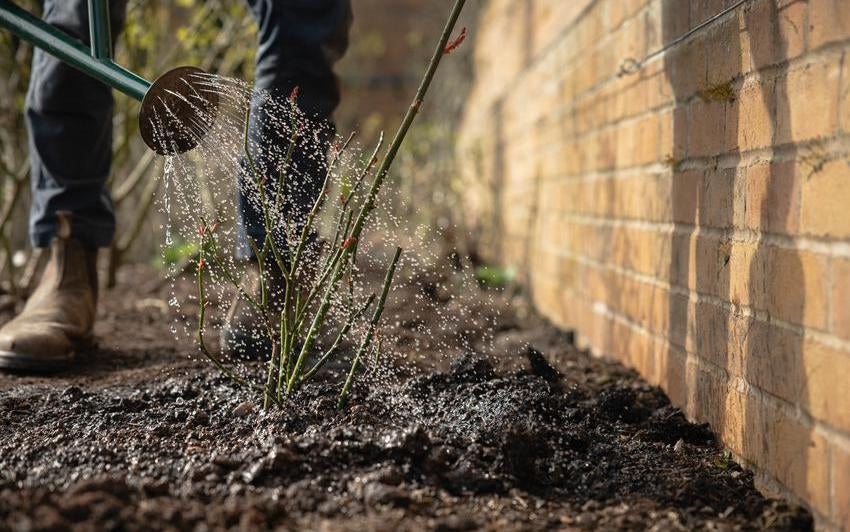 Step 6Water well and support. Water thoroughly after planting. If planting between May and September, water your new rose twice a week, or every other day during particularly warm weather. Guide stems onto their support, tying loosely. Training some stems horizontally will encourage flowers along their full length.


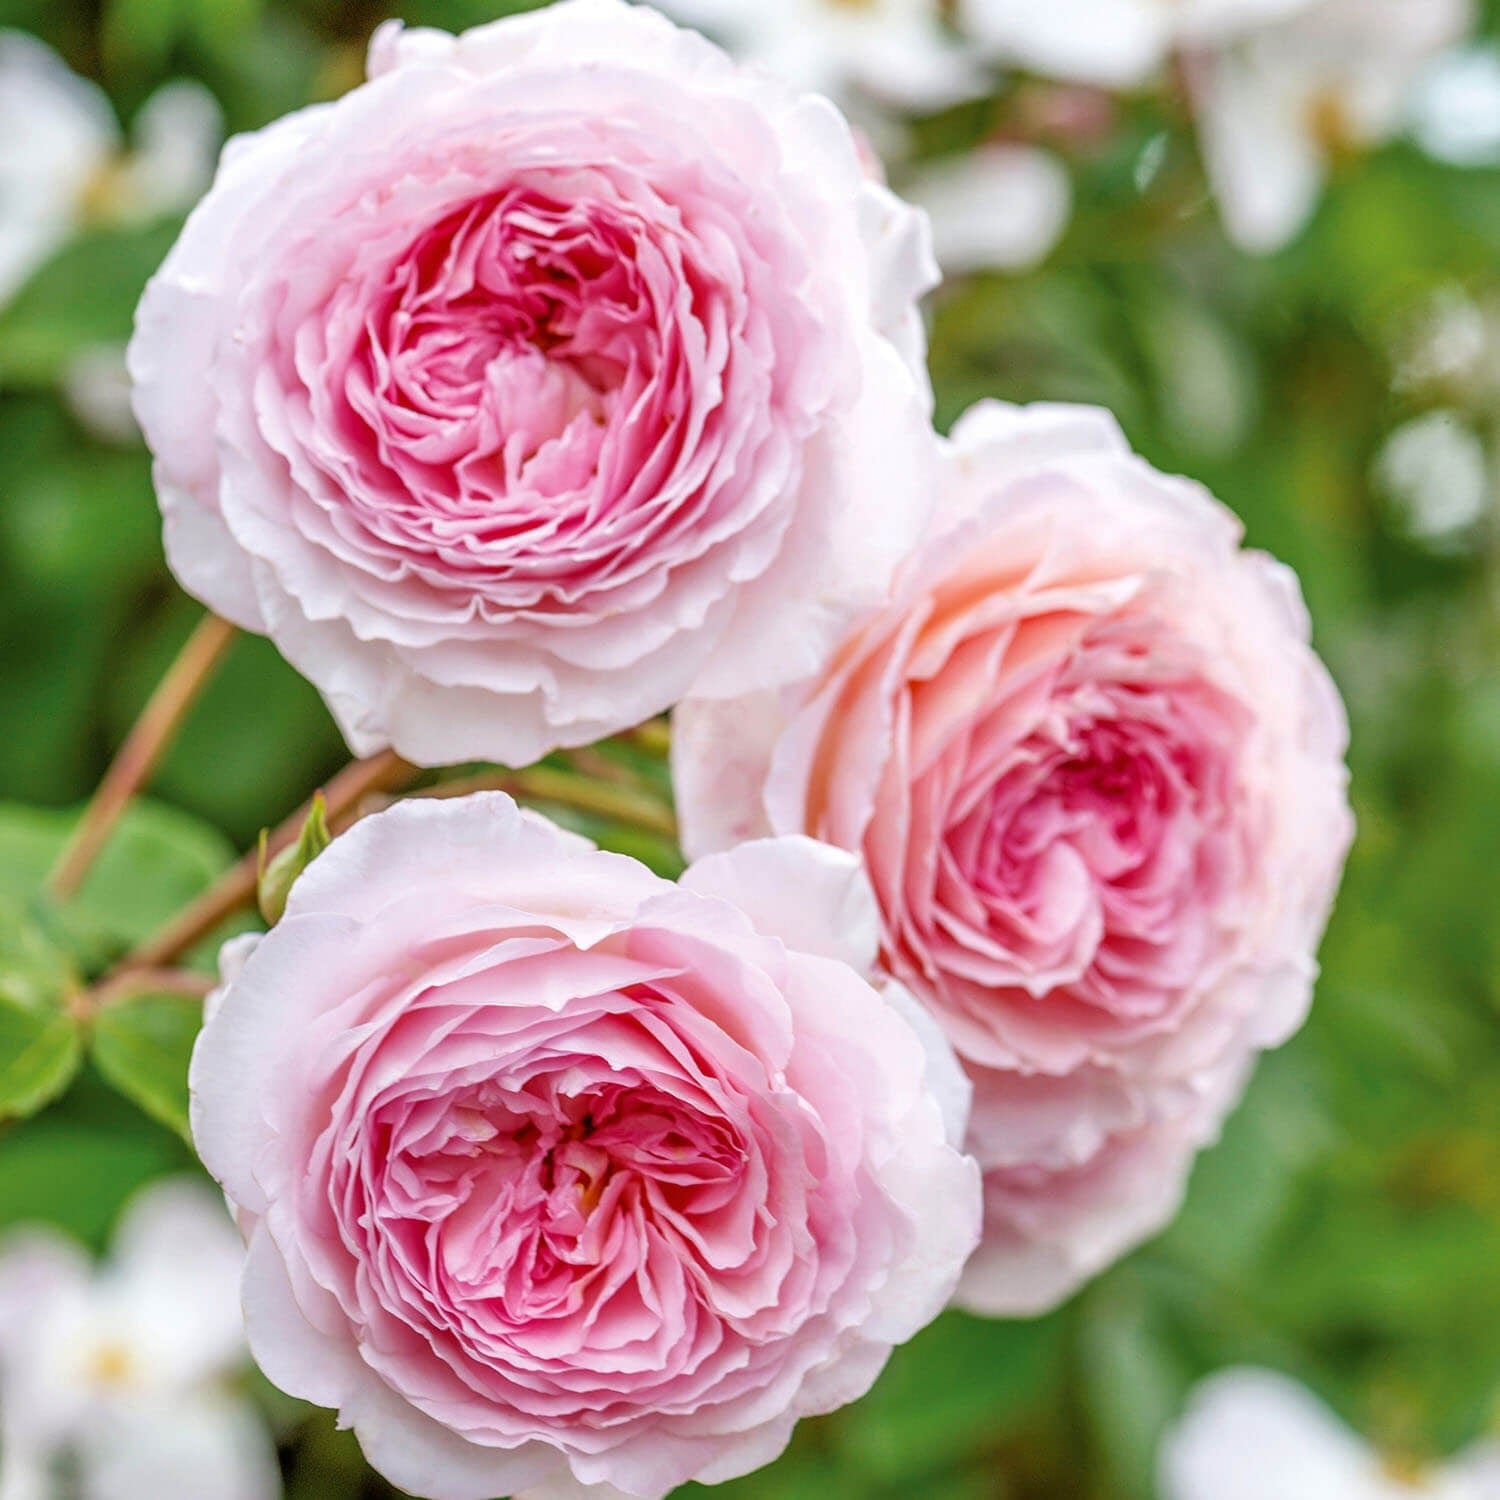
In the first season, water regularly, especially during warm or dry spells, as steady moisture is essential while your rose settles. Feed once in March with a controlled-release rose fertiliser as growth begins, then prune lightly in January or February to maintain balance, health and flowering. With time, your rose will grow stronger and more established, its first new shoots stretching softly around their support - a gentle promise of the beauty to come.


-
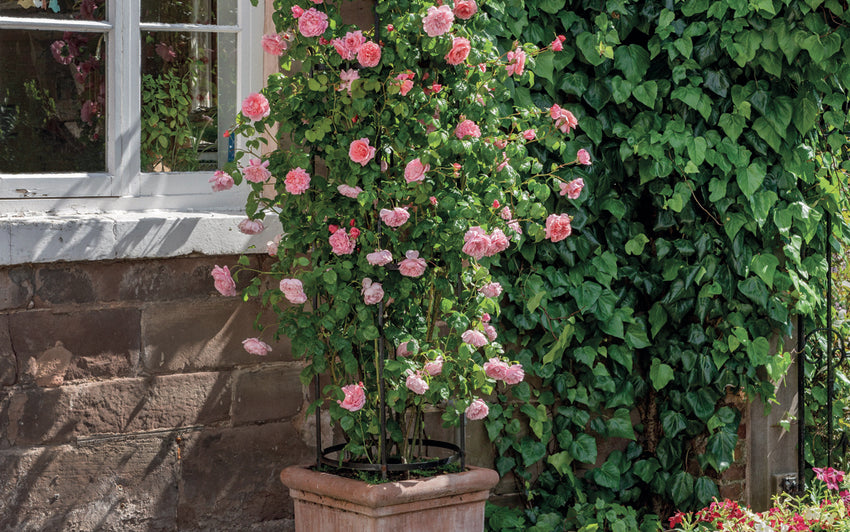
How to Plant a Potted Climbing Rose in a Pot: Step-by-StepPlanting a climbing rose in a container brings height, softness and a quiet sense of structure to the garden. With a generous pot and a little care at the beginning, your rose will settle happily and reward you with graceful growth. Climbing roses are well suited to container life, particularly those of a more moderate height. Given space for their roots and something to climb, they will flourish.

-
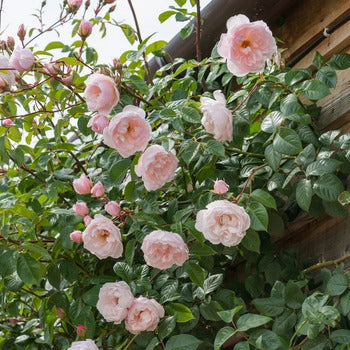
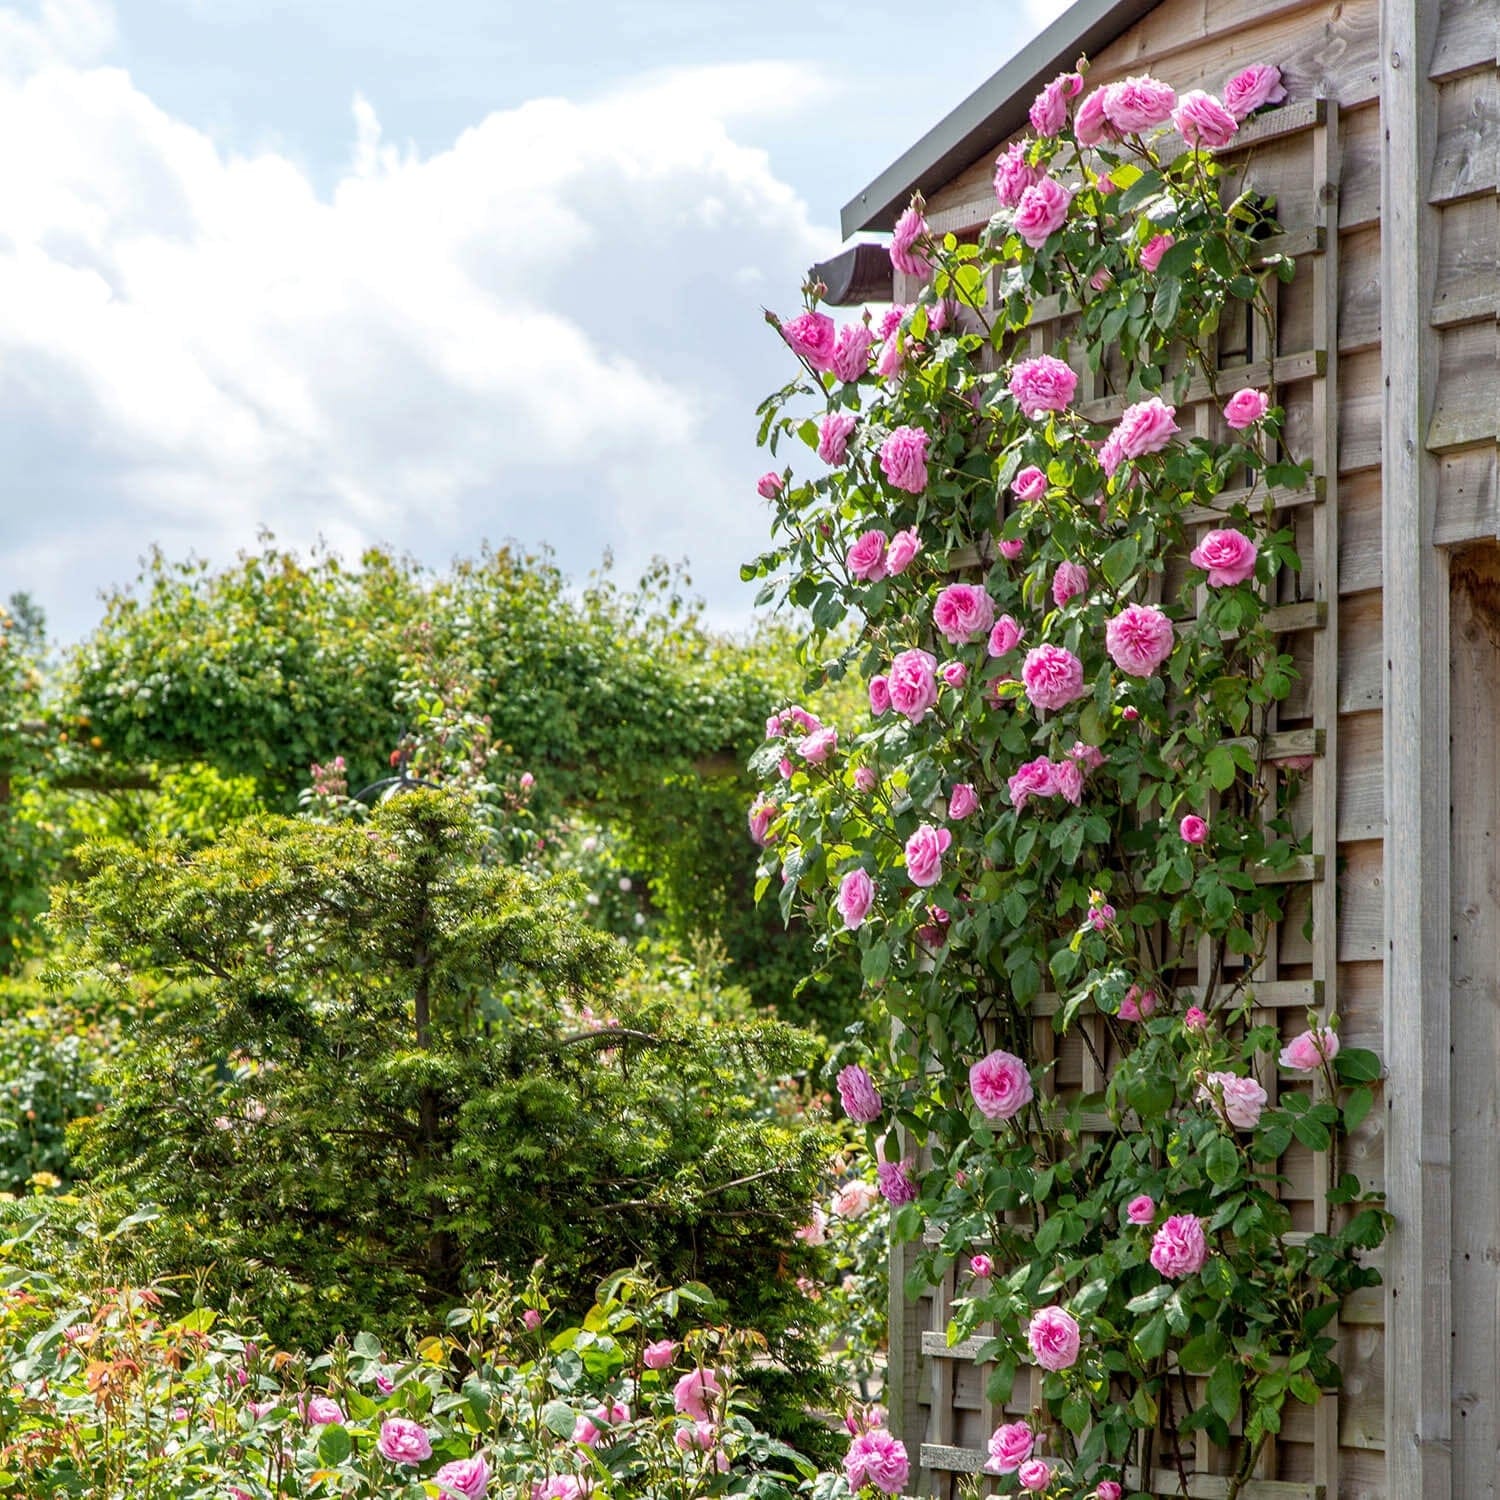
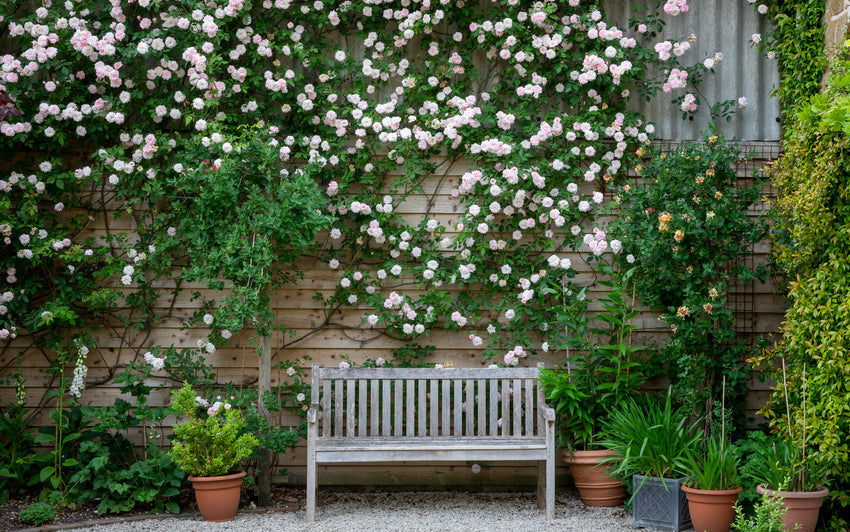
Creating Living Walls with Climbing RosesA living wall has a way of transforming a space, turning a simple surface into a quiet theatre of petals, scent and shifting light. When English Roses form the foundation, the display becomes generous and enduring. Their repeat blooms, soft colours and naturally graceful habit bring depth and character to any vertical space, whether it is a boundary fence, a warm house wall or a tucked-away corner that needs a little life.
-
A Guide to Growing Climbing and Rambling Roses in PotsPlanting a climbing or rambling rose in a pot is one of the most effective ways to introduce height, fragrance and structure to smaller gardens, courtyards and terraces. Whether used to frame a doorway, create a flowering screen along a wall or soften the lines of an obelisk, these roses offer a remarkable display when given the right conditions. Though the approach demands a little more upkeep than planting in open ground, the rewards are considerable: abundant blooms, repeat flowering, and a sense of movement and beauty that elevates even the most compact of spaces.
-
Two Ways Up: Climbing Roses and Ramblers ExplainedRoses climbing up a trellis or rambling across a wall are some of the most romantic sights in any garden. While both climbing and rambling roses can transform a space with their graceful growth and blooms, understanding the difference between them and how to care for each is essential.
-
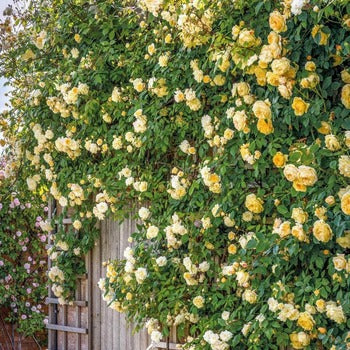
Training Climbing Roses into Decorative ShapesThere is a distinct charm in allowing a climbing rose to do more than simply cover a surface. A wall awash with bloom is undeniably lovely, yet when a rose is thoughtfully guided into a deliberate form, such as a sweeping arc, a relaxed swag, or a flowing wave, the effect becomes something altogether more expressive. The plant is not constrained, merely encouraged, its natural grace quietly emphasised.


